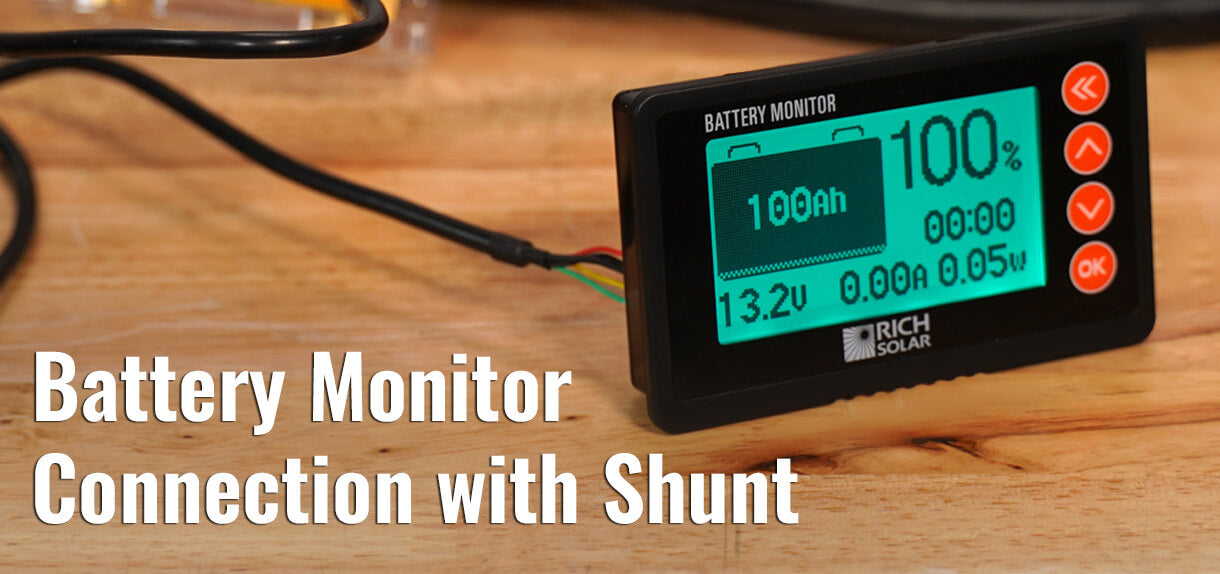
A battery monitor is a handy tool that helps you maintain the health and longevity of your solar batteries. The 500 Amp Battery Monitor with Shunt allows you to review your battery’s capacity charge level, and voltage using the LCD screen.
When properly installed and set up, the battery monitor can help keep your battery systems running for as long as you need them. The installation and setup process is fairly simple.
Before you begin, make sure that any battery or battery system is turned off and disconnected from anything. If you need any assistance, consult the instruction manual or contact the RICH SOLAR technical support team.
Inside the Box

Inside the box should include:
- Instruction manual
- Battery monitor
- 25’ shielded cable (black)
- 3’ positive battery wire (orange)
- 500A shunt
You will be using every part that comes in this box to install your battery monitor.
For the installation, you need:
- 1 x Flathead screwdriver
- 1 x Phillips head screwdriver
- 1 x Wrench/Socket wrench
How to Set Up a Battery Monitor
For this blog, we will use the ALPHA 1 LITE and the NOVA PURE 3K and connect them to the 500 Amp Battery Monitor with Shunt.
Connect the Battery to the Shunt
1. Attach the positive (red) battery cable to the shunt

2. Attach the negative (black) battery cable to the B-side of the shunt

3. Attach the other side of the negative cable to the battery

4. Attach the positive battery cable to the battery

5. Connect the shielded wire from the shunt to the battery monitor

Hooking up to the Inverter
Next, after you have connected the shunt to the battery, you need to connect the shunt to the inverter.
Note: The shunt acts as the negative and the positive acts normally
1. Connect the negative of the inverter to the P-terminal

2. Connect the positive side of the inverter to the battery (watch out for sparks)

3. Switch on the Inverter

Calibrate the Monitor to the Battery
Note: Try to use a fully charged battery.
1. Hold the “up” arrow button for 3 seconds

Afterward, the monitor should read 100% and you can see the total amp hours left, voltage of the battery, the amount of amps going in or out, and the total number of watts coming and going.
After that, you are all set up to begin using your battery monitor. Check out our video below, where Jacob goes over connecting the battery monitor to the inverter and battery in more detail.

